To Make a Salami, Part 1, Gather Supplies
 This is the first of several parts that will detail the making of classic, cured salami at home. The traditional salami is not smoked or cooked in any conventional way. Instead it is cured by means of bacteria and drying. By these means, it is preserved from spoilage. The process of curing the salami is a precise and deliberate process requiring strict adherence to time, humidity, and temperature. The end result will rob harmful bacteria of the materials, nutrients and water, necessary to grow and leave an edible product that will last with minimal care for a long time. This process of curing meats has been adapted by cultures all over Europe, spread originally by the marching Roman legions, and represent all types of food, not just the classic Italian sausage. From Russian moskovskaya, Lithuanian kindziuk, French noisette, Spanish sobresada, and German plockwurst, curing makes all kinds of food!
 It is not known how the process of curing was originally created or what people brought it to the table. However, it is thought to come from the northern lands of Italy, known today as Lombardy. This land of gently rolling hills surrounded the middle river valley of Po, an ancient transit route from the Mediterranean to the Transalp people of lower Germany and the spice route of the Danube. These lands were originally peopled, as early as 500 BC, by the Celts who were later pushed out by the Romans, who brought the first sausage recipes. It is thought, these early sausages were then made and kept in the Italian’s stone storage houses. Now, a stone storage house in the middling foot hills of the alps may have had a small stream that ran through it, keeping it cool in the day as well as moist. So these early Romans stored their sausages, hung from the rafters of their stone storage houses, in the moist, cool air. At some point, in this environment, the secret to curing to preserve was discovered and with their discovery, and the domination of the Roman legions, the secret was marched out across the European continent.
 The original process was and is dependent on a unique, geographical set of conditions. It is these conditions of temperature and humidity that we have to recreate, which will allow us, at home, to create these delicious and classical foodstuffs. To do this, we are going to build our own curing box from a refrigerator, a humidifier, and electronics. The end result will be a chamber with precisely controlled humidity and temperatures, perfect for creating delicious salami, bacons, and hams.
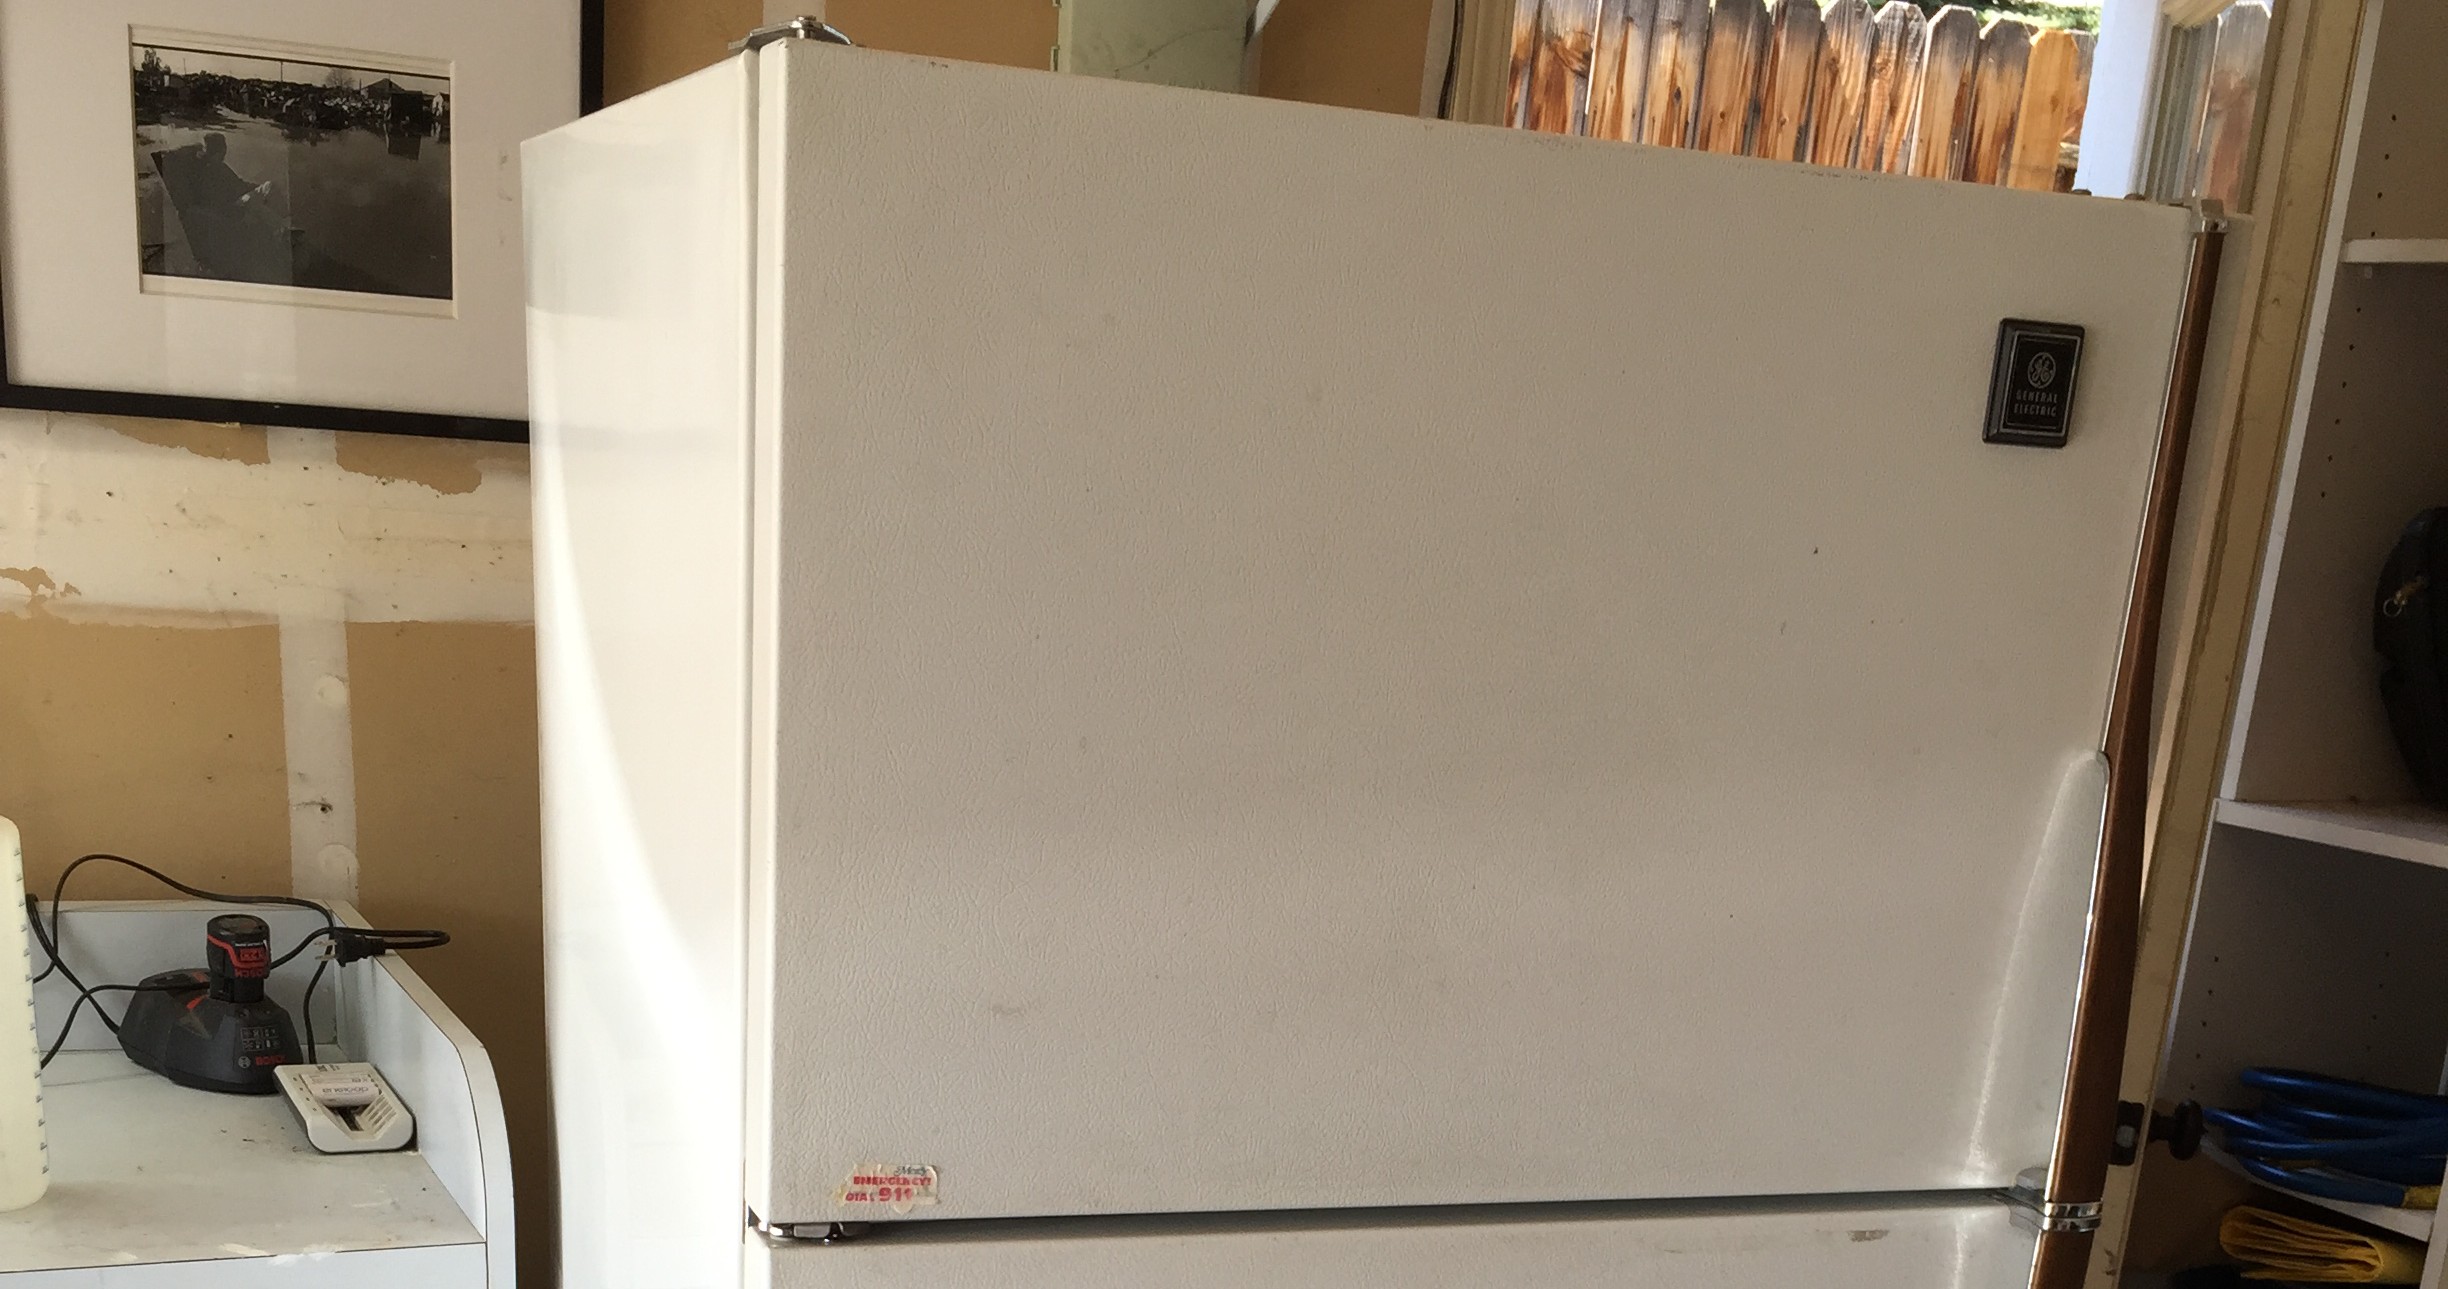
Firstly, the refrigerator. It is an old General Electric with freezer on top and refrigerater on bottom bought from Craigslist for $30. It is in perfect working condition. The freezer on top model is better suited, rather than the side by side model due to the increased width on the bottom. Once done with the conversion, this will also allow the freezer to be used as designed, for long term storage.
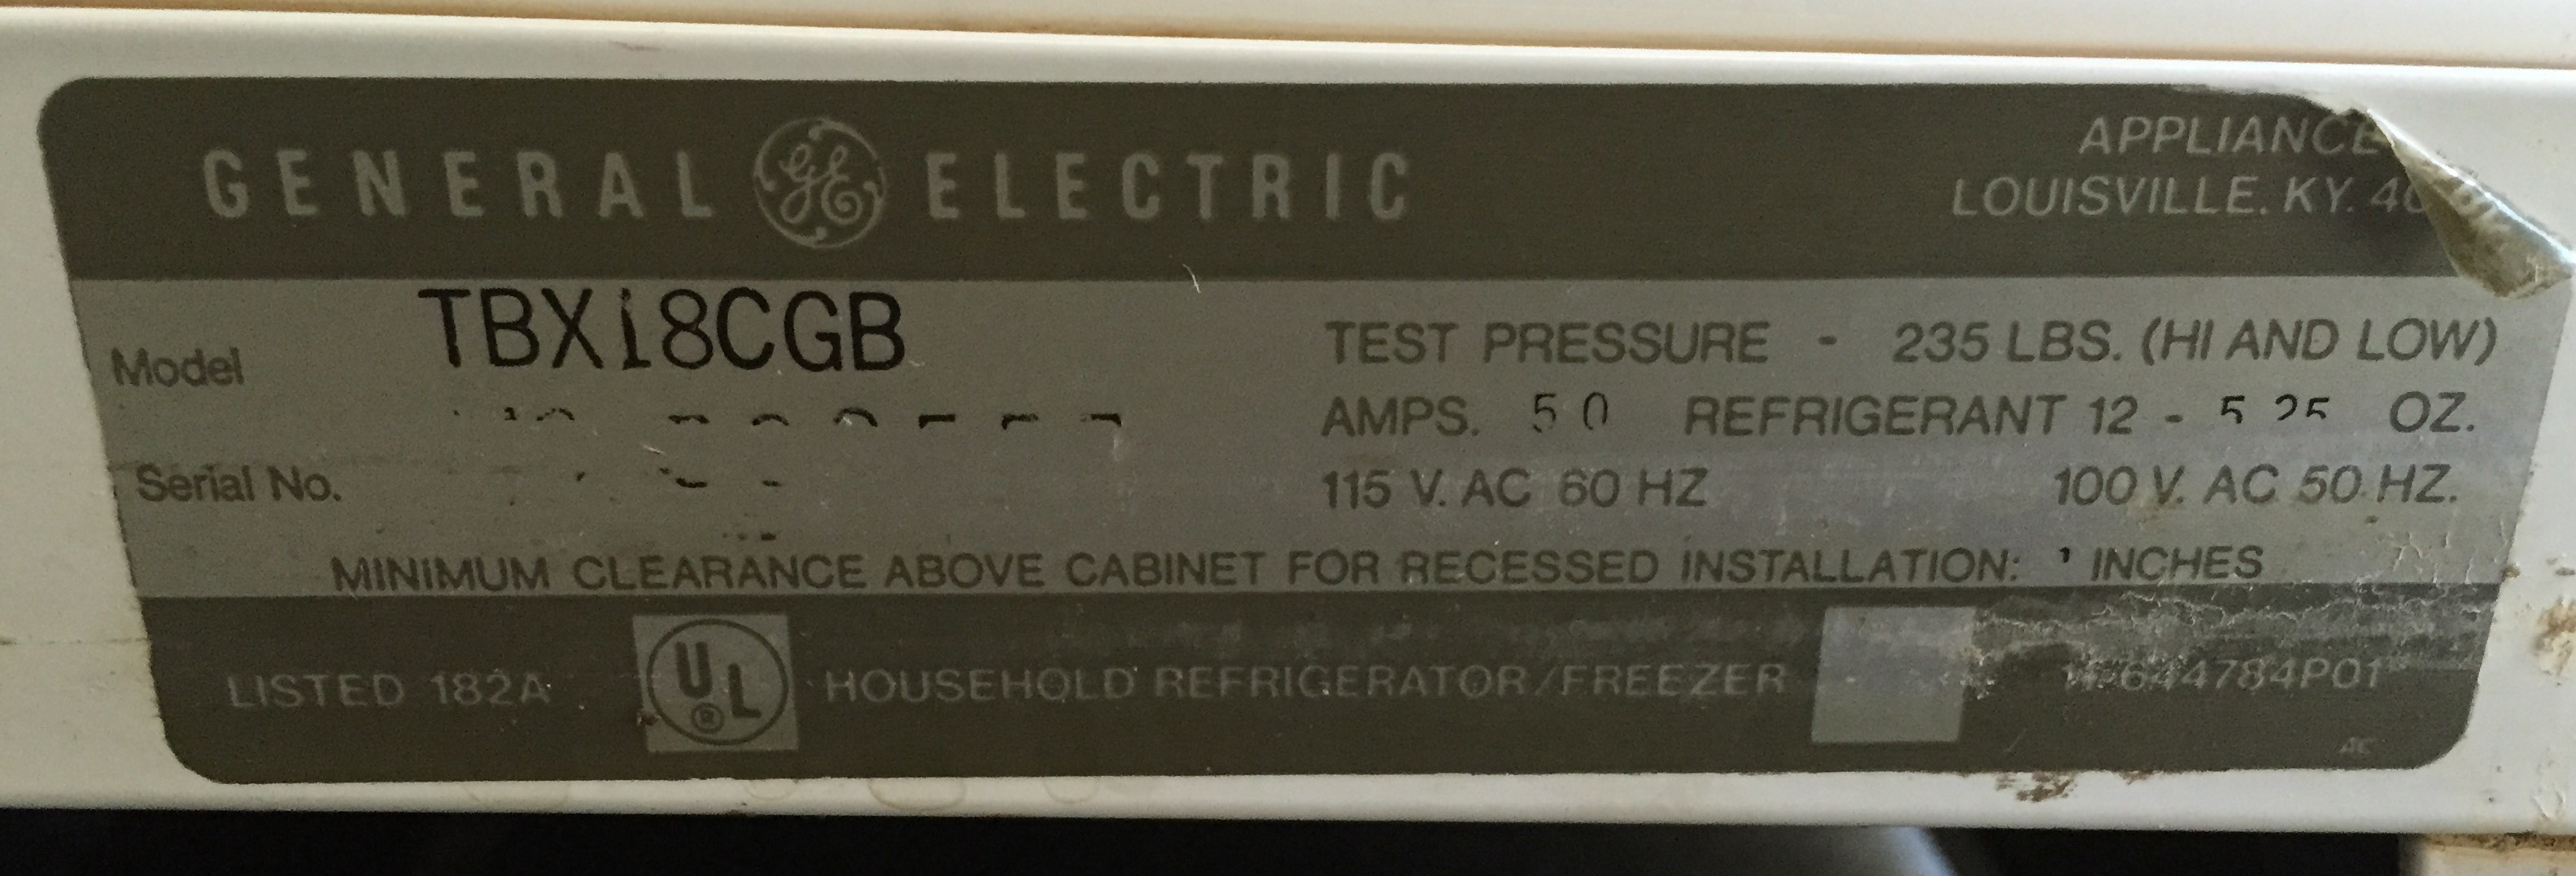 In stock, original form, the refrigerator does not get hot enough for curing, and also will dehumidify with normal operation. Therefore, we have to modify it to better and more preciesely control both the temperature and
  humidity. To do this we will wire in temperature and humidity controllers. Speaking of which, we will need some controllers. These are readily available from the internet, and
come in a variety of types. The two units we are using here are the Lerway 110V All-Purpose Temperature Controller+ Sensor 2 Relay Output Thermostat Stc-1000 and the AGPtek® WH8040 Digital Air Humidity Controller 1%~99% RH Range HM-40 Sensor Type. These controllers will be wired into the electronics of the refrigerator along with a humidifier and fan. This way we can precisely control both the temperature, beyond the original highs and lows, as well as the humidity, a feature not available with the fridge. And speaking of which, we will need a humidifier and fan! I’m using a Crane Drop Shape Ultrasonic Cool Mist Humidifier with 2.3 Gallon output per day and a Westpointe Electrical Co Wp 4″ Hi Velocity Fan 1002 Personal Fan. This equipment, combined with various wire, connectors, cords, and a plastic junction box will finish the build.
Next, We Build It!