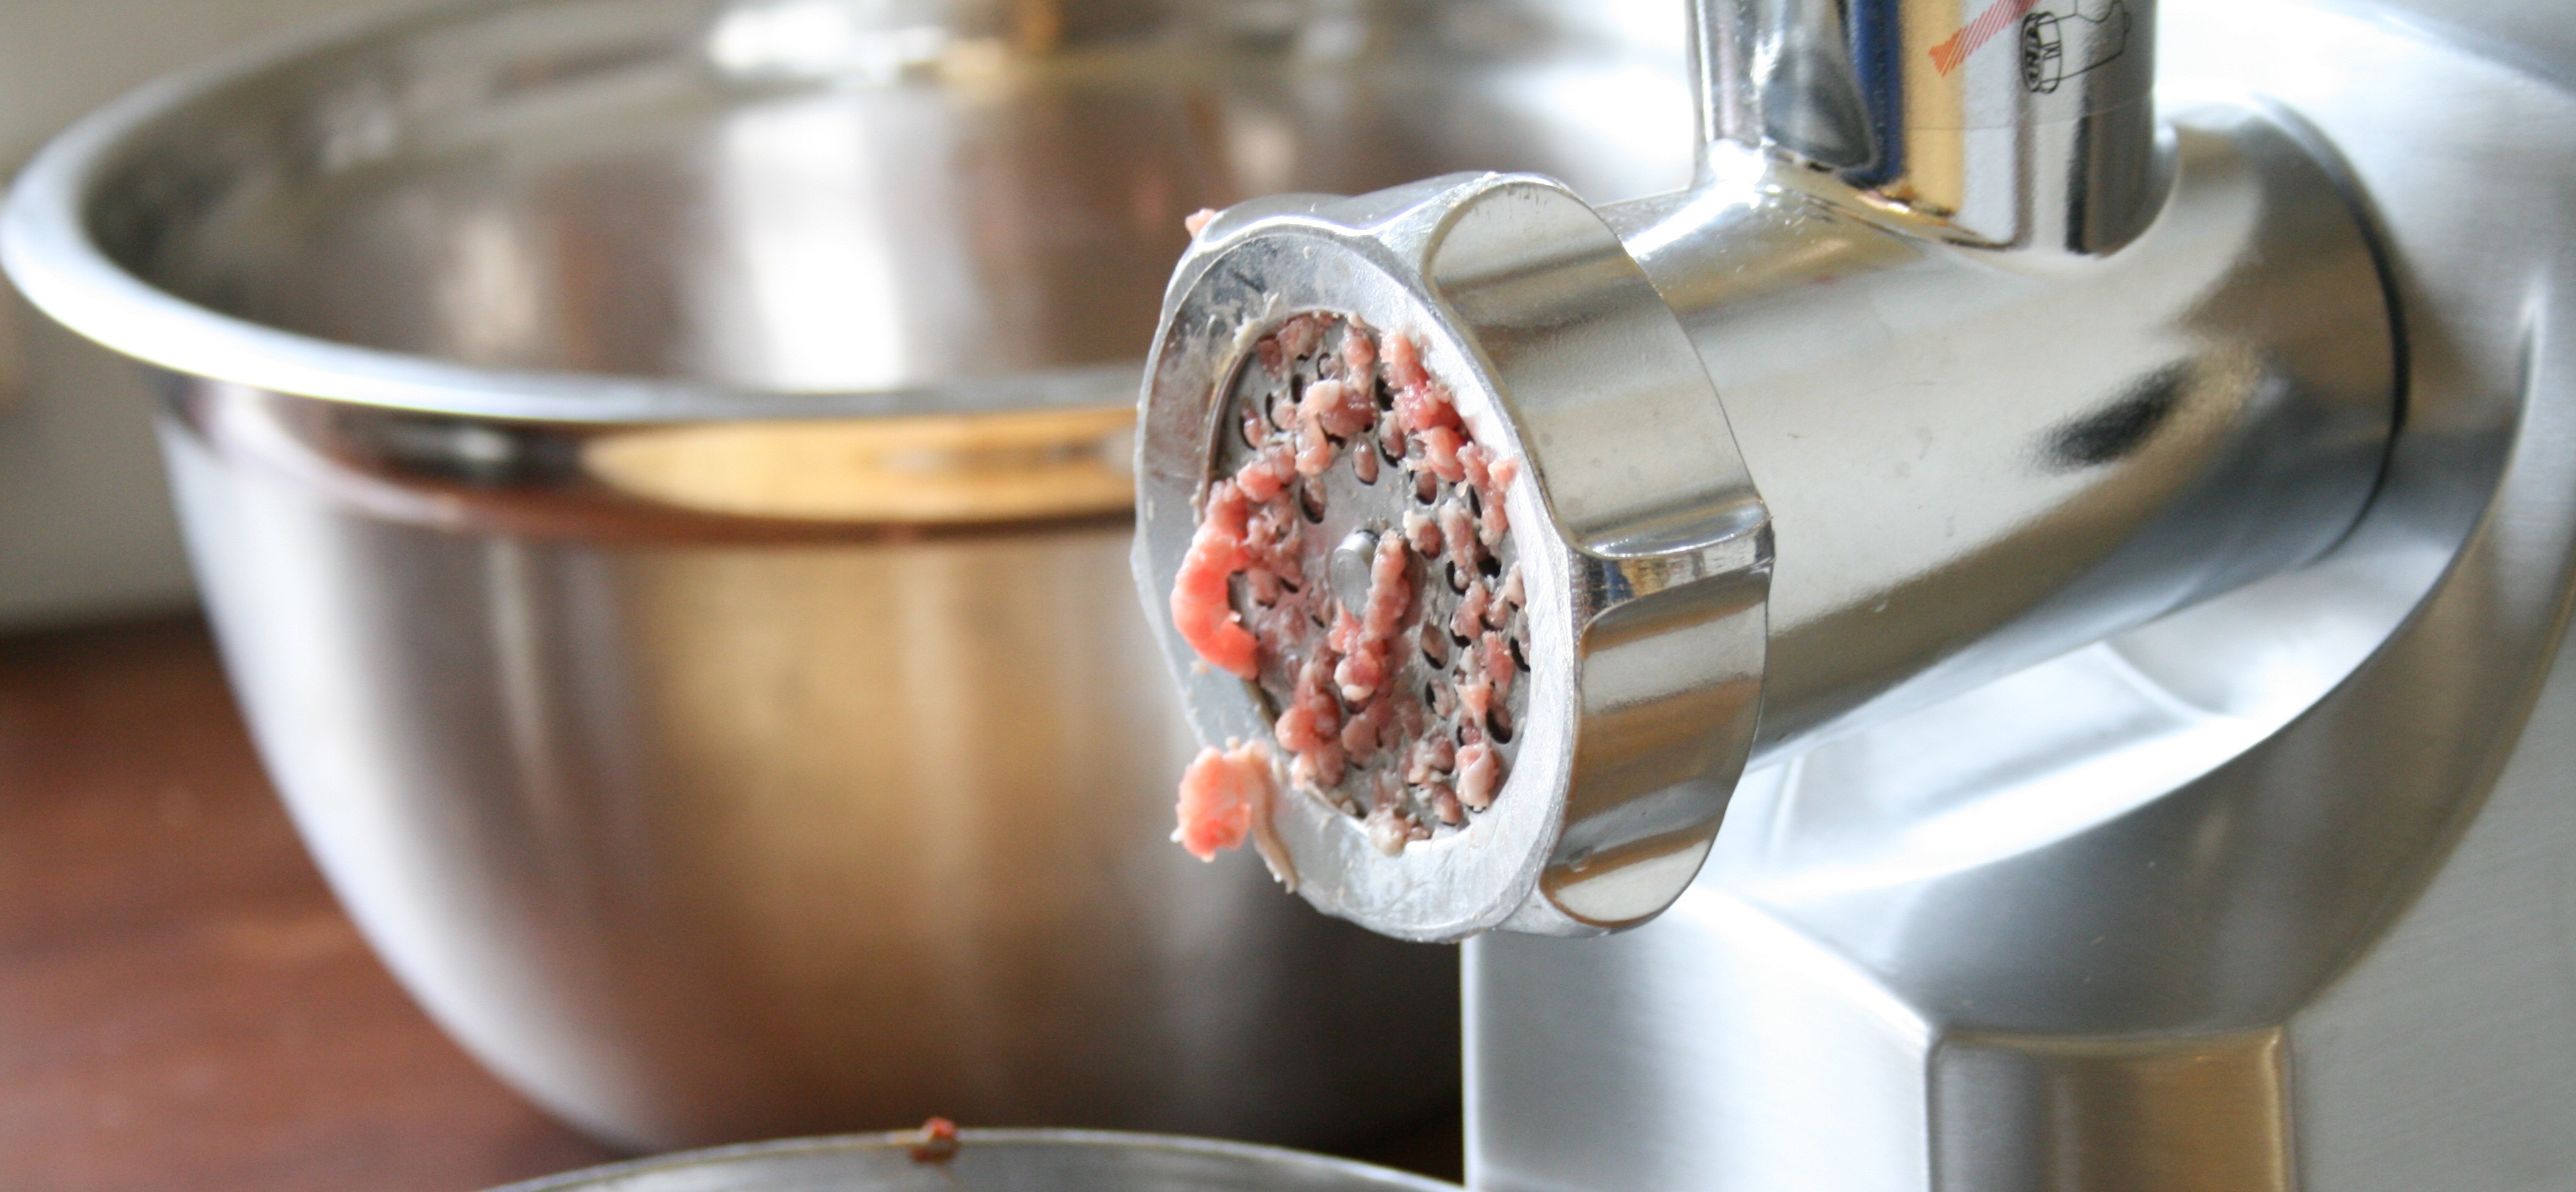
Grinding Meat for Sausage
Choosing a grinder
There are several things to consider when deciding which kind of grinder to purchase:
1: How often do you plan on making sausage, and in what amounts?
2: How much time are you willing to spend grinding meat?
3: How much money are you willing to spend?
Most homemade sausage recipes require you to grind 5-10 pounds of meat. The larger the grinder is, the faster it will grind. This saves you time, and also cuts down on the amount of time the meat will be at room temperature. There are two types of grinders, manual and electric.
Manual Grinders are the least expensive type of grinders. They operate by feeding the meat through the throat of the grinder and using a manual hand crank to grind the meat. They work just fine, but grind meat at the slowest rate. The three most common sizes of manual grinders are: #10, #22, and #32; the numbers indicate the size of the grinder, with the #10 being the smallest. They will grind meat at a rate of 2-5 pounds per minute (#10 grinding at the slowest rate, #32 at the fastest rate). I would recommend a manual grinder to someone who plans on making sausage in small batches on rare occasions (or if you like to grind your own meat in small batches. Key words here are ‘small batches’).
Electric grinders can range from about $100 to several thousand dollars. Electric grinders are easier to use and grind meat faster than manual grinders. The larger models are for processing upwards of 50-100 pounds of meat. For under $200, there are several models of electric grinders that can accommodate the home cook looking to process smaller batches of meat. I recommend an electric grinder if you plan on making sausage often and/or in large amounts.
Assembling a grinder:
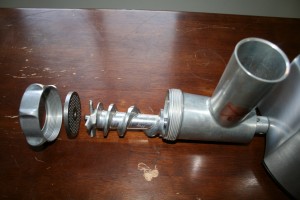
Whether manual or electric, all grinders are assembled the same way and have the same parts:
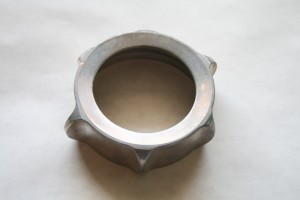
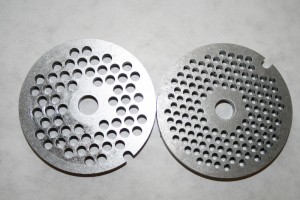
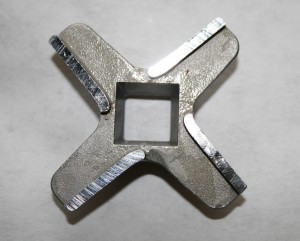
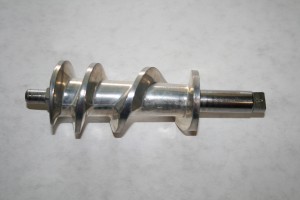
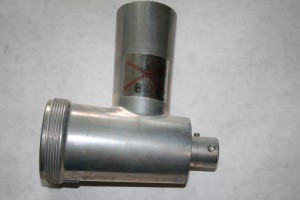
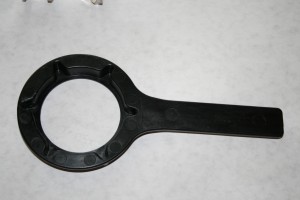
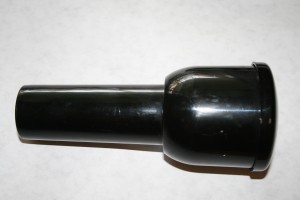
The assembly is easy: The auger fits into the grinder head, followed by the cutting blade (sharp edge facing forward), then the grinding plate, and the locking ring screws on last. The wrench fits onto the locking ring to tighten it and unscrew it. The plunger is to help feed the meat through the throat of the grinder.
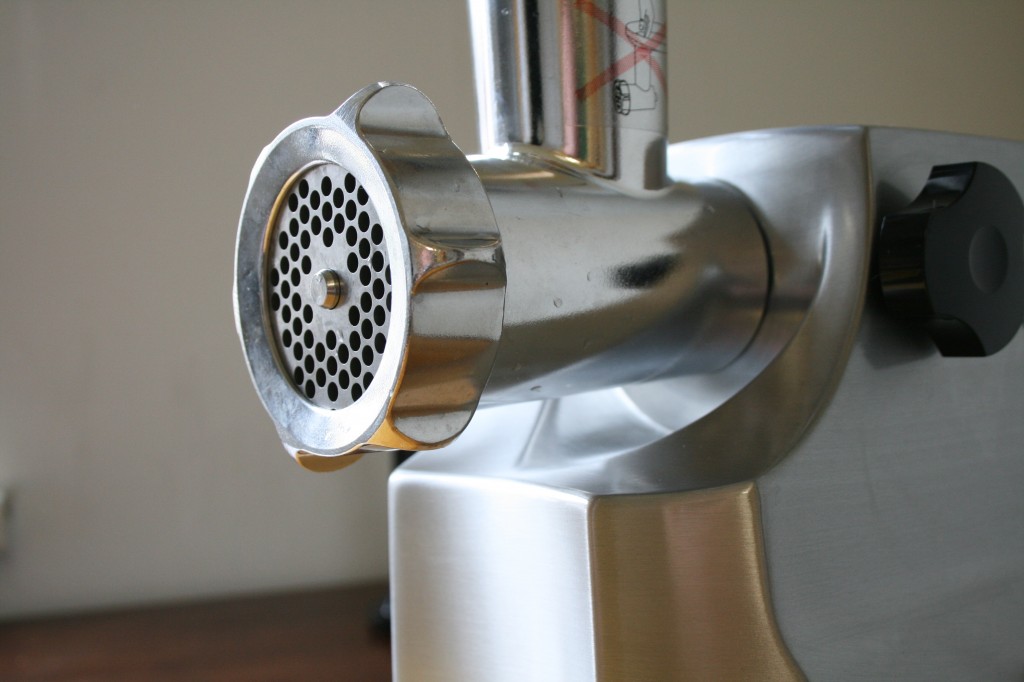
Your grinder will most likely come with several die sizes (this refers to the size of the holes on the grinding plate). Always use the smallest die unless the recipe specifies otherwise.
When storing the parts, it’s a good idea to rub them with food grade oil or keep them in a bag of rice to prevent rust. The cutting blade can be sharpened by a professional knife sharpener if it starts to become dull (from all the awesome sausage you’ll be making!).
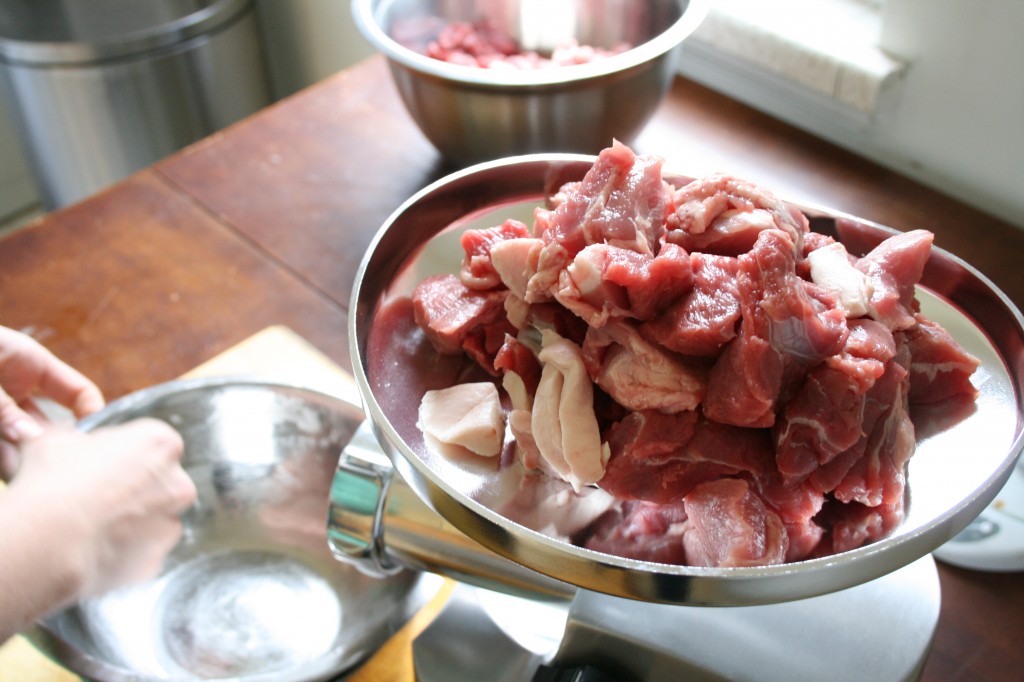
Before you grind your meat, you will want to cut it up into cubes that are small enough to fit through the throat of the grinder. Assuming you are using a manual or small-scale electric grinder, meat should be chopped into 1″-2″ cubes.
If there is a lot of sinew in your meat, try to remove as much as possible; this can get tangled in the blade and cause the meat to smear. It is obvious when this happens because the meat will not come out easily through the die and it will look mushy. If this happens, stop the grinder, remove the locking ring, clean the die, and remove the tangled sinew from the blade.
Alright, let’s grind some meat!
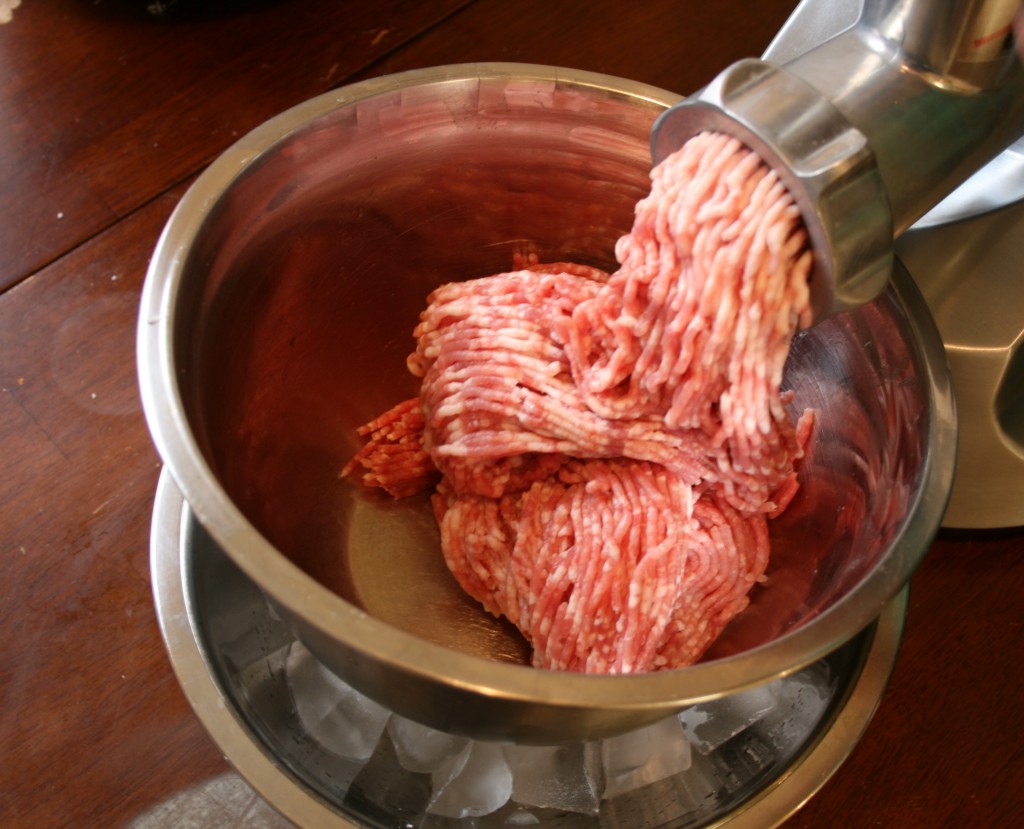
When grinding meat for sausage, the most important thing is for the meat to be cold; ideally near freezing. When the fat gets too warm it will start to smear, which causes the fat and the protein to separate when the sausage is cooked. This is called ‘breaking’ and results in a dry, crumbly sausage. Grinding generates a lot of heat, so keeping your meat below 40°F during the sausage making process requires some effort. The best way to ensure your meat and fat stay below 40°F is to cut your meat into the appropriate size cubes to fit through your grinder, then put them in the freezer for about 30 minutes. If you are adding fatback (or other fat), it can be completely frozen when you grind it. Always grind your meat into a bowl set on top of ice, and make sure your grinding tools aren’t warm when you start to use them (if you’ve just washed them, for instance).
If you must stop for any reason in the sausage making process (to gather ingredients, clean up, make a phone call, etc), put your ground meat into the refrigerator; try not to leave the meat at room temperature longer than necessary.
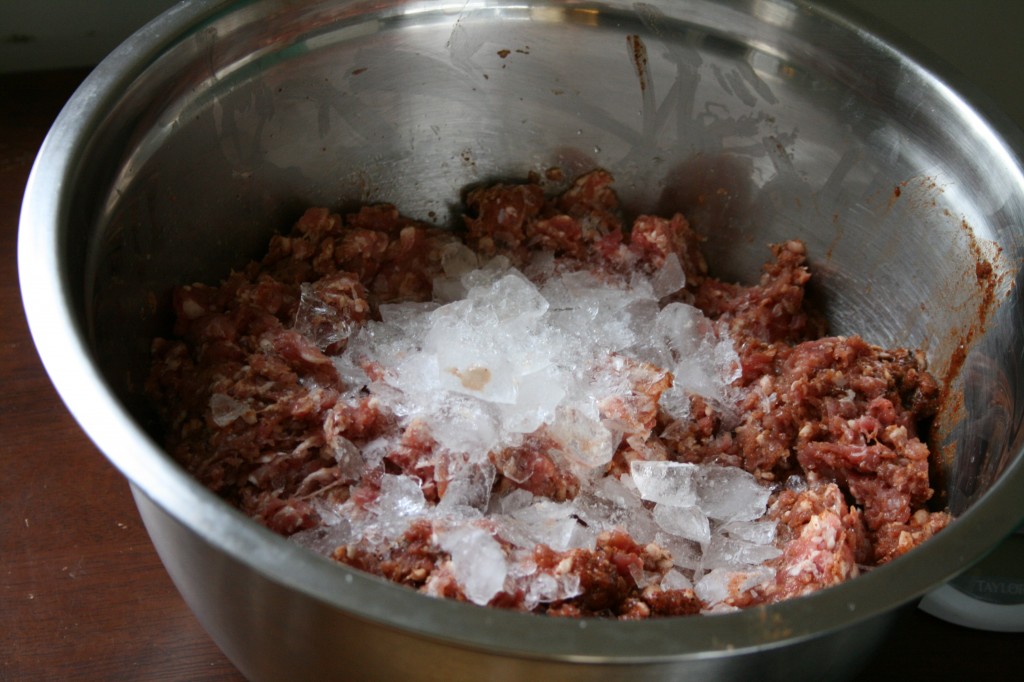
Some recipes require the meat to be ground more than once. If this is the case, add some crushed ice to the meat mixture before grinding again (large pieces of ice could damage your cutting blade).
If you are using meat that has been thawed out from your freezer, there will be a residue of liquid. This liquid is blood and water, and contains some flavor. It’s a good idea to save this liquid, keep it cold and mix it back in with your sausage.
When it comes to seasoning, some sausage making enthusiasts insist on seasoning the meat before it is ground and letting it set up overnight. Some sausage makers prefer to mix in the seasonings after the meat is ground. The argument for seasoning before grinding is that it gives the seasonings an opportunity to infuse the meat. The argument for seasoning after you you grind is that the salt in the seasoning can toughen the meat, making it harder to grind and stuff (to literally stuff into casings, I’m not trying to be vague), and some also believe that the salt in preseasoned meat can dull the cutting blade. I tend to season after I grind; this is partly out of habit, and because I will often leave the sausage to air-dry (if it’s going to be smoked) or rest in the refrigerator overnight (to let the flavors mingle) before cooking. If you intend to cook your fresh sausage immediately, seasoning before grinding will give the meat more time to absorb the flavors. Most of the recipe instructions for fresh sausage here at Steaks and Chops call for you to add seasonings after you grind, but it’s really up to you to decide when to add the seasonings.
One thought on “Grinding Meat for Sausage”
Comments are closed.