Porchetta
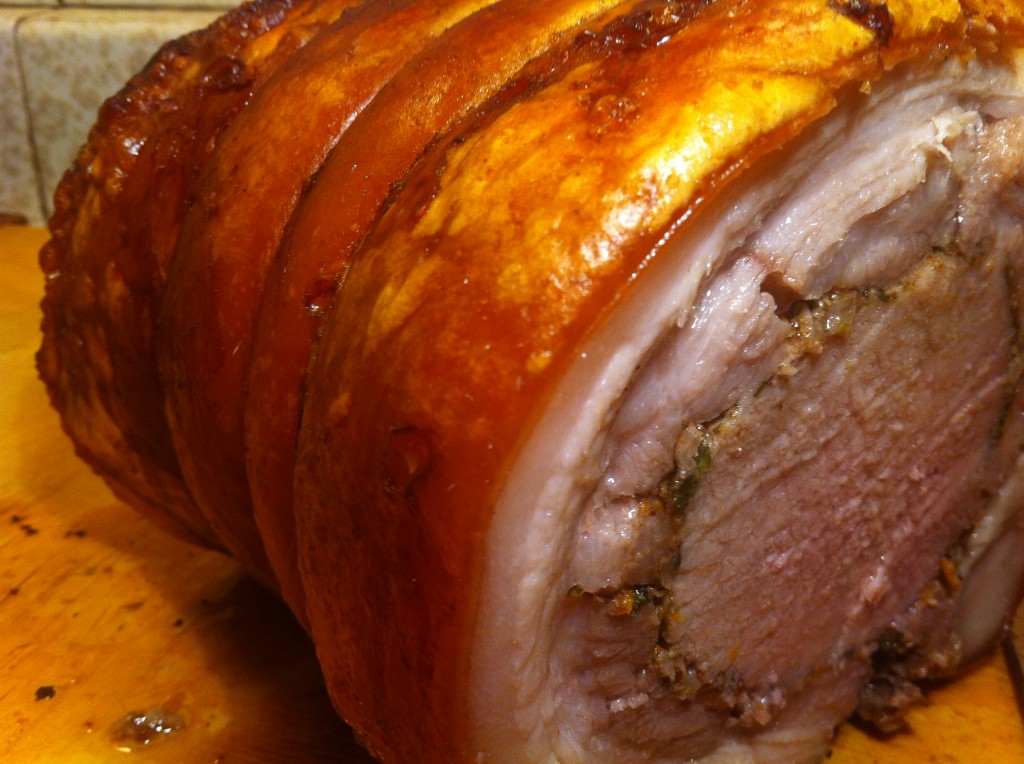
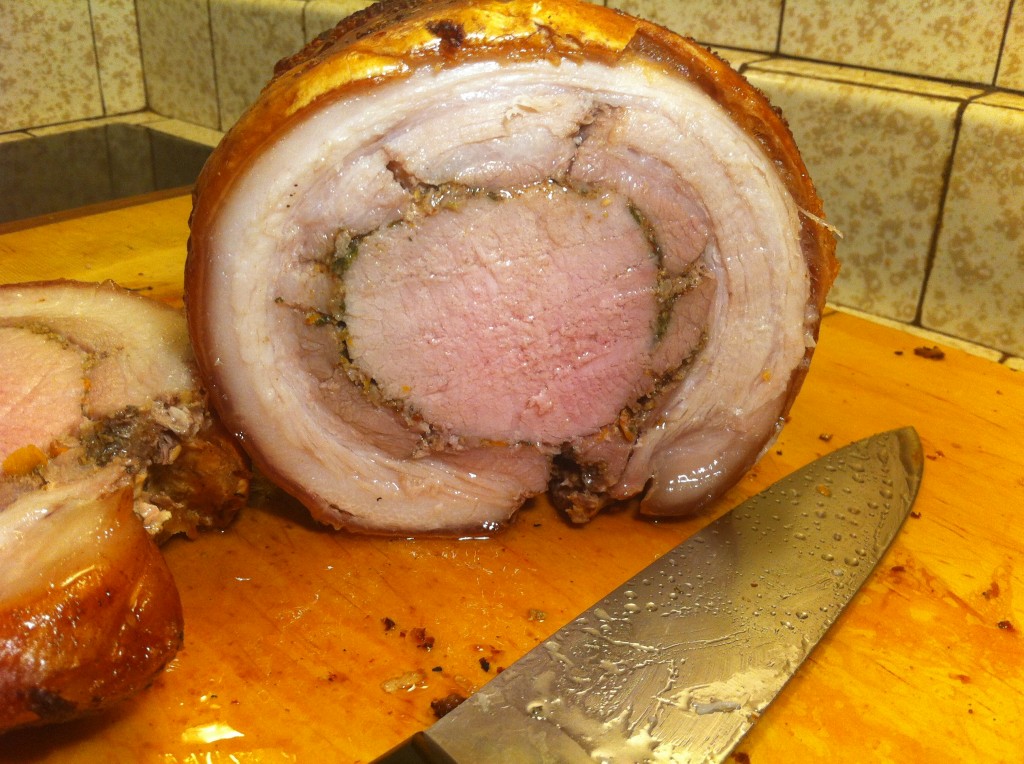
Since this is my first post I figured I needed to start with something epic, something that will grab your attention. Since sex sells, here’s some foodporn. Just look at it- so wrong and yet so right at the same time. This, my friends, is Porchetta.
Before I get to the recipe and tutorial for assembling your own Porchetta (it’s really not difficult, no need to be intimidated) I’m going to share with you some information about this dish (as a host, boring your dinner guests with useless info regarding what you will be feeding them is mandatory). If you google ‘Porchetta’ you will be presented with several variations. The Porchetta I made is the most popular Italian Porchetta, aka Trochetto Di Porchetta (I made mine with only the loin and belly, not with the tenderloin), whereas the traditional Porchetta uses the entire deboned hog, including the head. Another popular version is a ‘porchetta style‘ roast, which calls for the classic seasonings of a porchetta, but uses a different cut of pork (the shoulder, which requires different cooking methods than what you’ll see below) and results in something more like shredded pork as opposed to a roast. Porchetta can also be made from the leg of the pig as well.
I need to mention that my food photography skills are still being developed. I’m a butcher not a photographer, dammit! I am working on it and will hopefully soon be able to present you with professional (looking) photos. Here goes:
Assemble Porchetta one to two days before you plan on cooking it. You will need:
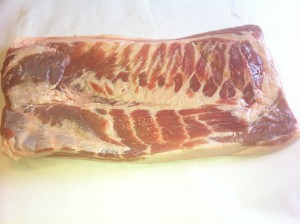
- 6 lbs of pork belly with skin*
- 2-3 lbs boneless pork loin (not to be confused with pork tenderloin, although that would still be delicious) silver skin removed.
- Kosher Salt
- 2 T fennel + 1 T red pepper flakes, toasted in skillet on stovetop for 60 secs, cooled, and ground in a spice grinder
- Orange zest
- 3-5 cloves of garlic, minced
- 1 shallot, minced
- 2 T minced fresh sage
- 1 T minced fresh rosemary
- butcher’s twine
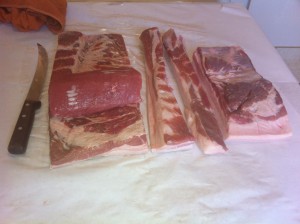
*Most butcher shops will carry pork belly, or can order it for you. It is best to call ahead by maybe one to two weeks to make sure they can order it for you if need be. Also, you will need to specify the size you want. I bought a whole belly for this project and will be making bacon with the portion of the belly I didn’t use. If you are not going to purchase a whole belly it might be best to go talk to your butcher directly- explain what you will be making and maybe bring a picture so they can get you the right proportions of pork belly to pork loin.
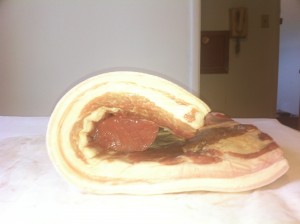
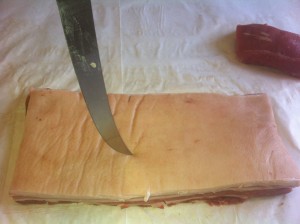
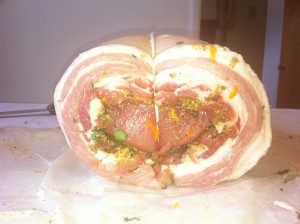
Step 1- you will need a comfortable amount of work space; a table or large countertop will do. Put belly skin side down and arrange loin in center. Roll belly around loin so the short ends of the belly touch, trim belly. Unroll and set loin aside. Save belly trimmings for making bacon!
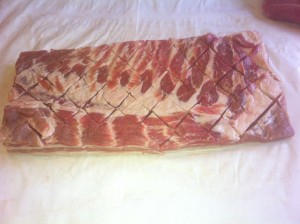
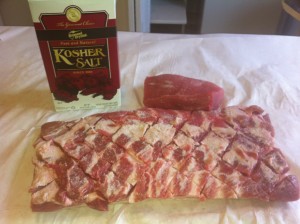
Step 2: Score the belly flesh in a checkerboard pattern about 1/3″ deep to help further flavor and tenderize the meat. Turn the belly over and with a sharp knife poke about two to three dozen little holes in the skin. Then with a meat mallet, pound the skin all over for about three minutes. Get angry with it! This will help tenderize the skin and make it nice and crispy when roasted.
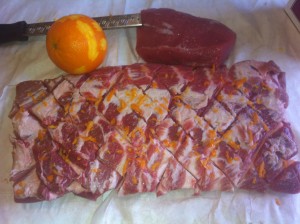
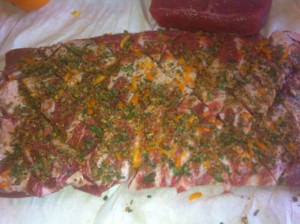
Step 3- Time to season. Take some liberty here- use seasoning you like and leave out the ones you don’t. Season the fleshy side of the pork belly and pork loin liberally (I used about a quarter cup; I like my salt. As I said earlier- do what you like, you’re eating it). Zest some orange on there (be careful not to get too much of the pith- it’s bitter), then rub with the fennel, pepper, sage, garlic, whatever you like, mixture.
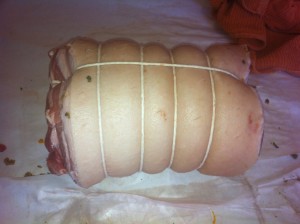
Step 5: Tie it all together. Literally, take that butcher twine and tie this beast up! It’s ok if you don’t know fancy butcher’s knots (I can’t give away all my secrets) regular knots will work just fine. You want it tight enough to securely hold it all together, but you don’t have to prove your he-man strength. Try to space the ties about one inch apart.
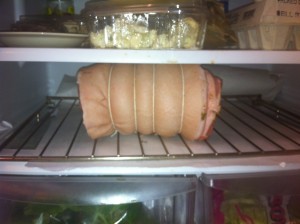
Step 6: Put this beast in your fridge on a rack (to allow air to circulate all around the roast) with a towel or something underneath to collect any liquid that accumulates (it shouldn’t be much, but a little will leak out- don’t want that contaminating your other food). Let it sit uncovered for one to two days. This will dry out the skin which will make it crispy and delicious, while allowing the flavors to settle into the meat. Don’t be scared about letting the meat sit in the fridge- there is enough fat on the meat, and your fridge will keep it cold enough from developing any harmful level of bacteria.
Now it’s time to cook! Pull your roast out of the fridge about two hours before cooking to bring to room temp. Preheat your CLEAN oven to 500°F (if your oven is dirty, the high temp will start burning off all the dirty bits in your oven and smoking out your house. Yes, I learned that the hard way). Roast on a rack with something underneath to collect all the rendered fat (there will be a lot!), such as a casserole dish. Roast at 500°F for 40 min turning occasionally. This part browns the skin and gets it nice and crispy. After 40 minutes, turn the oven down to 300°F and continue cooking until a meat thermometer registers 140°F, about one and a half to two hours later. Pull meat out and let rest for 20-30 minutes longer. The meat will continue to cook a few more degrees while it’s resting and the resting allows the juices to settle back into the meat. Oh, and haven’t you heard, we don’t have to overcook pork to 160°F anymore!
Now make some stuff to go with it- Like this maybe, with something green.
Enjoy your feast!
